How to Buy a Tiny House
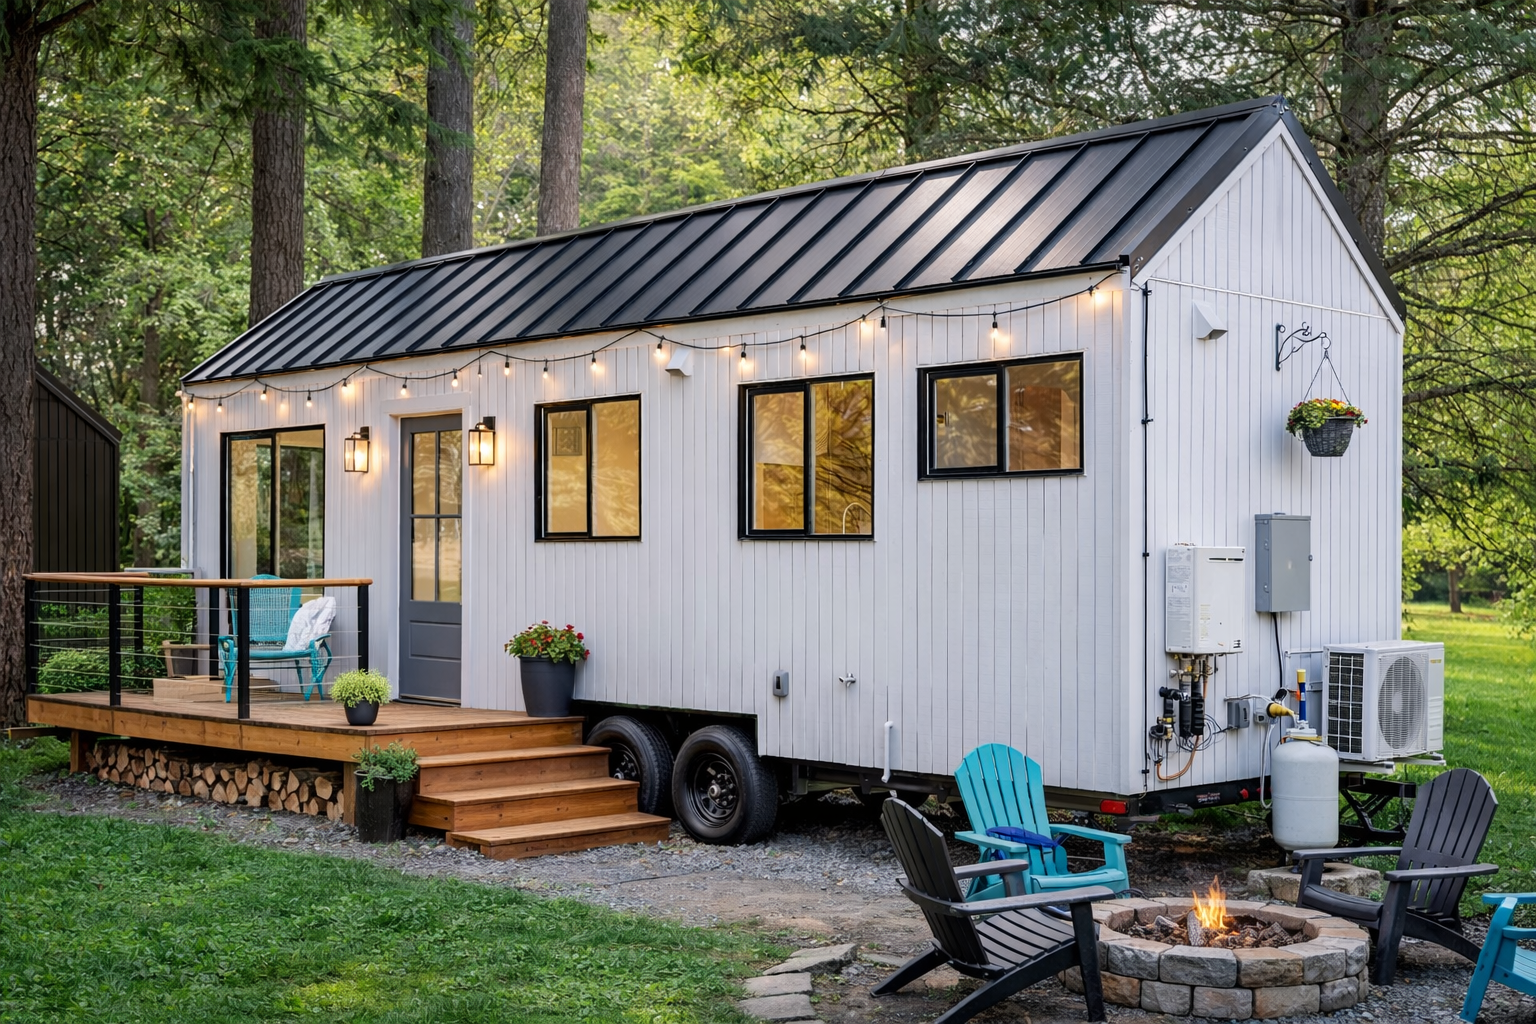
Everything you need to know — from first Google search to the morning you wake up in your own compact, custom-built home.
Buying a tiny house is one of the most liberating decisions you can make — but the path from “I want one” to actually living in one is more nuanced than most people expect. Whether you’re chasing financial freedom, a simpler lifestyle, or off-grid independence, this guide walks you through every stage of the process with complete clarity.
Research: Know Before You Commit
The tiny house journey begins long before you speak to a builder. Done properly, the research phase saves you thousands of dollars and months of frustration. Use this time to explore the full landscape — designs, price brackets, trailer specs, off-grid systems, and zoning laws in the area where you plan to park.
Most buyers underestimate how much variety exists in the tiny house market. Standard designs typically range from compact 18-foot singles to generous 36-foot doubles. Each comes with different trailer configurations, loft arrangements, bathroom options, and structural ratings. Understanding these differences before your first sales conversation puts you in a position of confidence, not confusion.
Also think practically: where exactly will your tiny house live? A friend’s rural land, a tiny house community, a rural block you own? Delivery access, council regulations, and utility connections all vary significantly by location and need to be on your radar early.
Your Action Items
- Browse builder websites and blogs to understand size, style, and price ranges
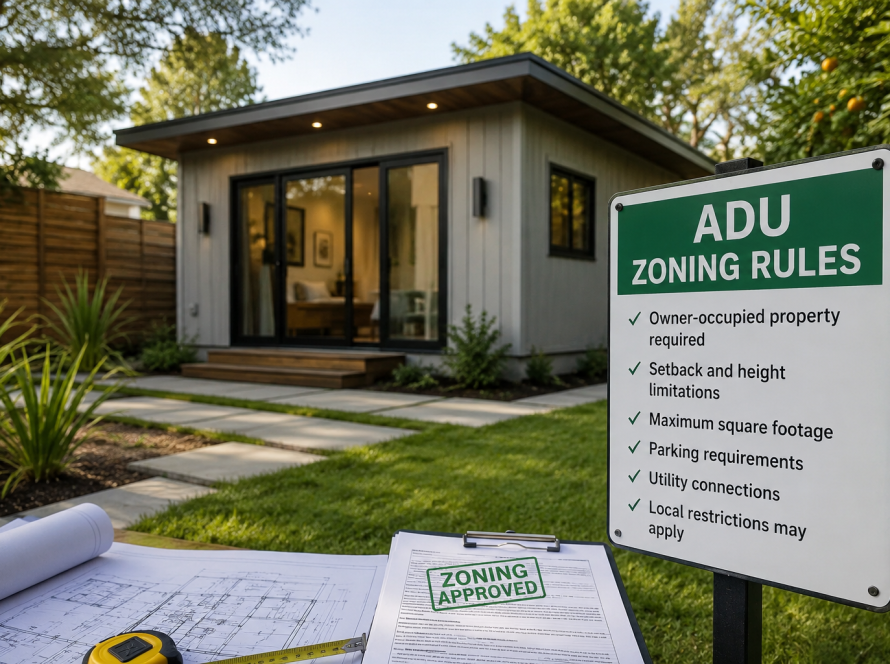
- Research local zoning laws and any permits required for your intended location
- Decide whether off-grid capability (solar, rainwater, composting toilet) is a priority
- Clarify your financing situation — will you pay cash, use a personal loan, or explore tiny house-specific finance?
- Start a dedicated folder or notebook to collect inspiration and practical notes
Consult: Get Real Answers
Your first conversation with a builder is not a sales call — it’s a discovery session. Come prepared. A good tiny house company will spend as much time listening as talking, asking about your lifestyle, your must-haves, your budget ceiling, and your timeline. This is the moment to voice every concern, no matter how small.
Common questions at this stage include: What’s actually included in the base price? How long are current build slots? Can I visit a completed build? What happens if I need to move my tiny house in three years? What certifications does the build come with? Don’t leave this conversation with unanswered questions — that’s what the consultation is for.
If you have images, mood boards, or floor plan sketches you’ve collected during the research phase, bring them. Visual references dramatically accelerate the conversation and help the sales team point you toward the right standard model.
Your Action Items
- Write down every question you have, even the ones that feel obvious
- Compile photos and references for your ideal interior aesthetic and layout
- Be honest about your true budget — including contingency for upgrades
- Ask about lead times and current build queue so you can plan your timeline accordingly
“The best tiny house buyers come to the design meeting knowing what they love — and what they’re willing to compromise on. That clarity changes everything.”
Validate: Find Your Best-Fit Model
After the consultation, your builder’s specialists will present the design that most closely matches your needs. This is the validation stage — a chance to test the concept against your real-life requirements before any money changes hands or plans are drawn.
Think of it as trying on a garment before tailoring begins. You might look at a 24-foot model and realise you need at least 28 feet to feel comfortable. You might discover that a particular loft configuration doesn’t work for your mobility needs, or that a certain bathroom layout gives you exactly what you wanted. This stage is where vision meets reality.
Where possible, involve any other decision-makers — partners, family members, or future co-inhabitants — in this stage. Their input now prevents costly late-stage changes later.
Your Action Items
- Review the proposed model against your original wishlist and flag any gaps
- Bring your partner, family member, or key decision-maker to this meeting
- Ask what structural or layout modifications are possible within the standard design
- Request to see or visit a completed version of the model if available
Plan: Define Every Upgrade
With your base model selected, it’s time to spec out exactly how your tiny house will be built. This planning stage is where the standard design gets transformed into your specific build through a series of deliberate choices about upgrades and off-grid systems.
Upgrades typically fall into three categories: structural (extra insulation, double-glazed windows, reinforced decking), systems (solar panels, battery storage, water tanks, composting toilets), and aesthetic (benchtop materials, cabinetry styles, bathroom fixtures). Each choice has a cost implication, so this is also the moment to honestly prioritise what matters most to you.
Off-grid capability deserves special attention. A basic solar and rainwater setup will look very different from a full off-grid package designed for year-round remote living. Be specific about your intended use — weekends at a holiday site versus permanent off-grid residence demand completely different systems.
Your Action Items
- List every upgrade you want, then rank them by priority in case you need to trim the budget
- Specify your off-grid requirements clearly — power, water, waste, and heating needs
- Ask for itemised upgrade pricing so you can make informed trade-offs
- Confirm which upgrades affect the build timeline
Proposal: Numbers on Paper
At this point, your builder will provide a formal quote — a detailed document that sets out the total cost of your build, what is included, what is excluded, the payment schedule, and the estimated build timeframe. Read every word.
A thorough proposal will break down the base price, each upgrade line by line, delivery costs, and any optional extras. It should also clearly state what is not included — site preparation, utility connections, council permits — so you can budget for those separately. If anything is ambiguous, ask for clarification in writing before proceeding.
Pay particular attention to the build timeline and what factors could affect it. Supply chain delays, seasonal weather impacts, and build queue position can all influence when your tiny house is actually delivered. Knowing these variables upfront protects you from disappointment.
Your Action Items
- Read the quote thoroughly and cross-reference it with your upgrade list
- Confirm exactly what is and isn’t included in the stated price
- Understand the payment schedule and milestone triggers
- Clarify the estimated build and delivery window — and what might delay it
- Get any verbal promises confirmed in the written proposal
Purchase: Lock In Your Build Slot
When you’re satisfied with the proposal, it’s time to commit. Signing the building contract and paying the initial deposit — typically around 20% of the total build cost — officially secures your position in the build queue. This is the moment the dream becomes a scheduled project.
Most reputable builders offer e-signing for convenience, but you’ll also typically exchange physical copies for your records. Keep your copy of the signed contract somewhere safe — it’s your primary legal document throughout the build process. Review the contract carefully before signing: look for the dispute resolution clause, what happens if either party needs to exit the agreement, and what warranties cover the finished build.
Once the deposit is transferred, confirm with your builder that the payment has been received and your build slot has been formally allocated. This is also a good time to set up a dedicated folder for all project correspondence going forward.
Your Action Items
- Review the contract carefully before signing — pay attention to warranty terms and exit clauses
- Sign via e-signature or arrange physical document exchange
- Transfer the deposit to the account details on the invoice and keep the receipt
- Confirm your build slot in writing once the deposit clears
Customise: Choose Every Finish
After your deposit is in, the builder’s design team will contact you to finalize the aesthetic details of your build. This is the most tactile, personal stage of the process — the point where your tiny house starts to take on a real personality.
Selections typically include flooring materials (timber, vinyl plank, tile), cabinetry colours and handle styles, benchtop finishes, bathroom fittings, tapware, interior wall treatments, and soft furnishings like blind styles or cushion fabrics. Most builders provide a curated selection of finishes appropriate to your chosen model, which keeps decision fatigue manageable while still allowing genuine personal expression.
If you planned specific upgrades at Stage 4, this meeting also confirms the technical specifications for those — solar panel wattage, battery capacity, water tank volumes, and so on. Come prepared with any final questions about the systems you’ve selected.
Your Action Items
- Confirm your upgrade and off-grid selections from the planning stage
- Choose from available finish options for flooring, cabinetry, benchtops, and bathroom
- Bring any inspiration images that communicate your preferred aesthetic clearly
- Ask about lead times on any custom or non-standard finish selections
Build, Deliver & Set Up
With all fittings and finishes locked in, your build officially begins. The operations team will source your trailer and start construction. A quality build is a methodical process — framing, cladding, roofing, insulation, electrical and plumbing rough-in, fit-out, and final finishing all happen in sequence, and good builders keep you updated at key milestones along the way.
During this phase, your primary job is to prepare your site. Make sure the land where the tiny house will be parked is level, accessible for a large delivery vehicle, and ready for connections. Your builder will provide specifications — follow them precisely. An unlevelled or inaccessible site is one of the most common causes of delivery day delays and added costs.
As delivery approaches, your builder should arrange transport insurance and temporary registration for the move. You’ll also typically receive a comprehensive onboarding guide — study it. It covers everything from how to connect to utilities and maintain your off-grid systems to warranty claim procedures and seasonal maintenance tasks. The more familiar you are with your home before delivery day, the smoother your first weeks will be.
Then comes the moment you’ve been working toward: delivery day. Your tiny house arrives, it’s positioned on site, and the keys are handed over. What started as a researched idea, a carefully asked question, a signed contract, and a series of considered choices has become your home.
Your Action Items
- Prepare and level your site to the specifications provided by your builder
- Confirm site access is sufficient for a delivery vehicle and truck-mounted crane if needed
- Read the onboarding guide thoroughly before delivery day
- Arrange any utility connections or permits required at your location in advance
- Do a thorough walkthrough inspection on delivery day and note anything that needs attention
The Bottom Line
Buying a tiny house isn’t a single decision — it’s a series of informed ones. Each stage builds on the last, and the buyers who end up happiest are those who stay curious, ask the hard questions early, and trust the process. Your compact, considered home is closer than you think.