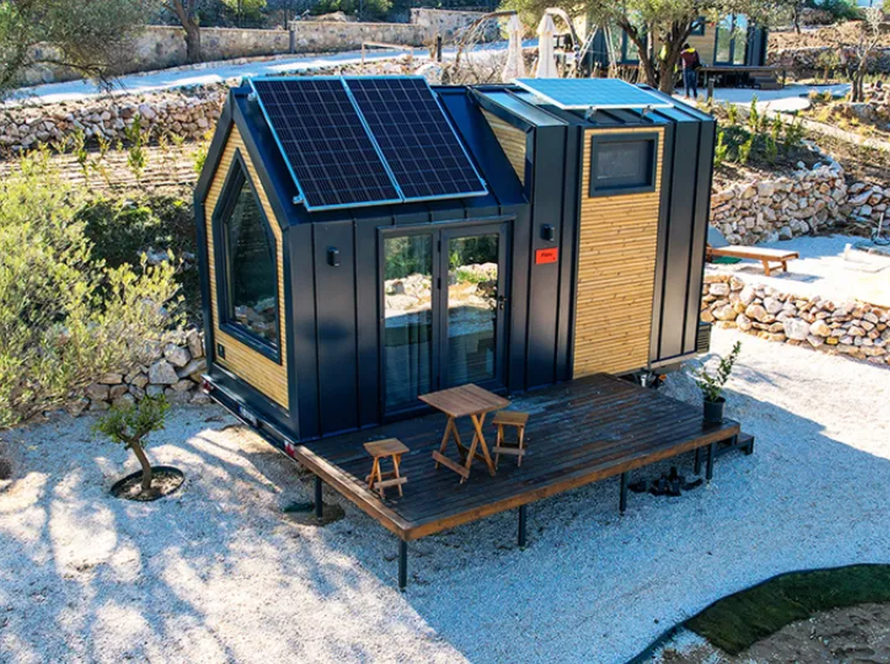
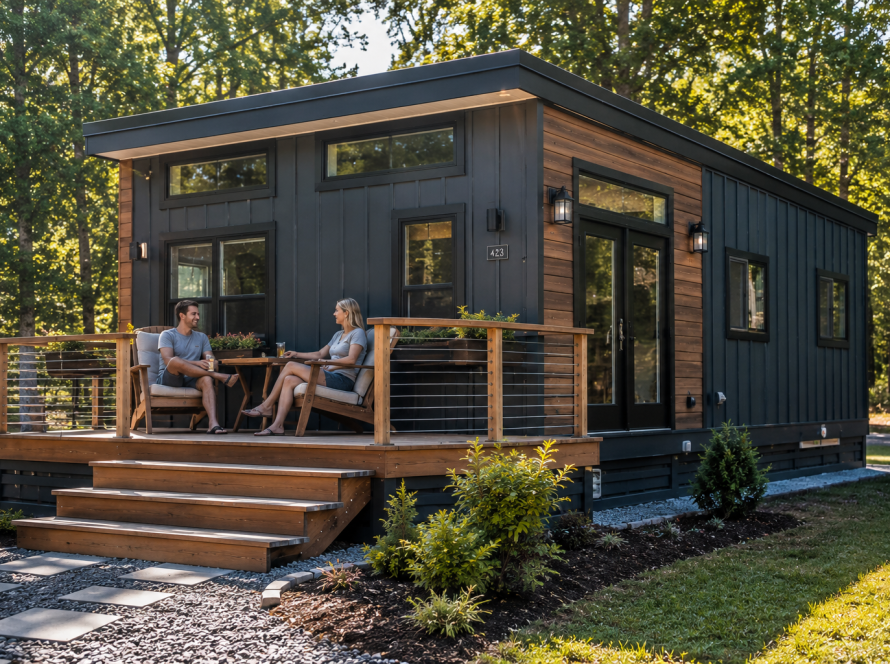
Step-by-step guide to the tiny house installation process

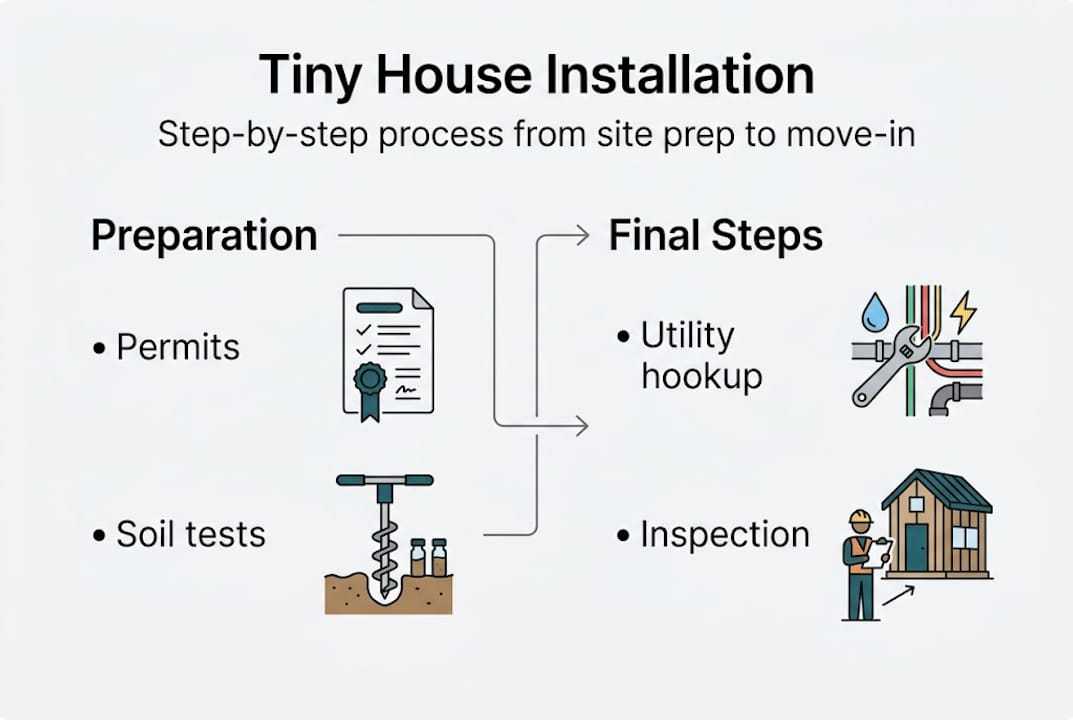
Proper planning, permits, and site preparation prevent costly mistakes in tiny house installation. Foundation type and site conditions are crucial for long-term stability and safety. Early coordination with professionals and thorough research streamline the installation process.
Tiny homes promise affordability and sustainability, but the installation process trips up more buyers than you’d expect. Hidden costs, confusing permits, and poor site choices can turn an exciting project into a stressful one fast.
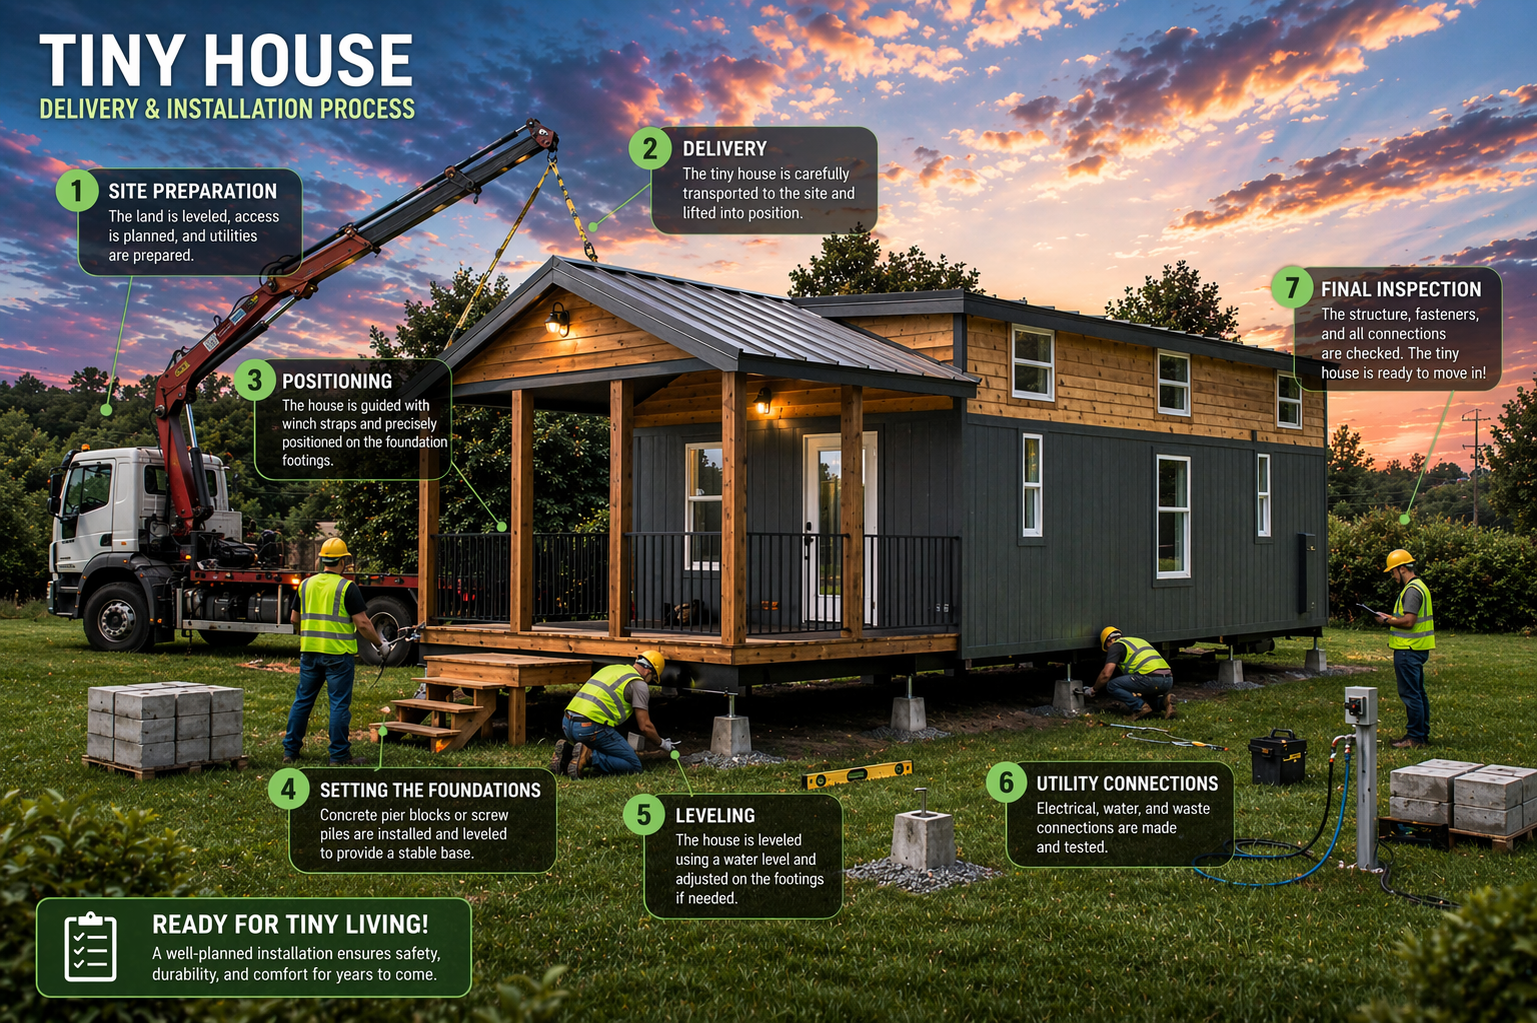
Site prep costs alone can range from $7,000 to $25,000 depending on the work required, and that surprises most first-time buyers. This guide walks you through every stage of tiny house installation, from the very first planning steps to final utility hookups, so you can move forward with confidence and avoid the mistakes that cost time and money.
Table of Contents
- What you need before starting: prerequisites and planning
- Site preparation: groundwork, foundations, and key decisions
- Tiny house delivery and placement: logistics made simple
- Final connections: utilities, inspections, and move-in
- A smarter approach to tiny house installation: what most guides miss
- Ready to make your tiny house dream a reality?
- Frequently asked questions
Key Takeaways
| Point | Details |
|---|---|
| Plan for upfront costs | Site prep, permits, and utility hookups can add $7,000–$25,000 to your project. |
| Soil and permit checks first | Testing your soil and confirming local codes early prevents costly delays. |
| Choose the right foundation | Wheeled or permanent foundations depend on your lifestyle and site conditions. |
| Delivery demands preparation | Clear access, ready foundations, and proper equipment are essential for safe placement. |
| Final approvals matter | Inspections and utility connections are required before you can move in. |
What you need before starting: prerequisites and planning
With the big picture in mind, let’s start at the very beginning: what you must have and do before ground is broken.
Before any physical work begins, your success depends on thorough upfront research and preparation. Skipping even one step here can mean costly rework later. Prioritizing soil testing and local codes early is one of the most important habits experienced builders recommend to avoid expensive surprises.
Here is a practical pre-installation checklist to work through:
- Choose your site: Confirm zoning allows tiny homes or park model homes in that location.
- Run a soil test: Understand load-bearing capacity and drainage before selecting a foundation type.
- Plan utilities: Map out water source, electric connection, and sewer or septic options.
- Secure permits: Research tiny home permitting steps for your county or municipality.
- Review the buying process: If you haven’t already, read through a tiny house buying process guide to understand how installation fits into the overall timeline.
- Budget for all phases: Include site prep, delivery, utility connections, and inspections.
Here’s a quick summary of typical costs at this stage:
| Pre-installation item | Typical cost range |
|---|---|
| Soil test | $500 to $3,000 |
| Building permit | $500 to $5,000 |
| Site pad preparation | $3,000 to $10,000 |
| Utility planning and hookup | $2,000 to $10,000+ |
These numbers vary widely based on your location, lot conditions, and local regulations. Urban areas and difficult terrain tend to push costs toward the higher end.
Pro Tip: Call your local building department before you buy your tiny home. Ask specifically about zoning, minimum square footage rules, and what foundation types are approved. This one conversation can save weeks of delays and thousands of dollars.
One costly mistake to avoid: skipping professional engineering review on difficult lots. Slopes, flood zones, and clay-heavy soils all require specialized foundation planning. Treating every lot as a straightforward flat site is a recipe for expensive corrections.
Site preparation: groundwork, foundations, and key decisions
After careful planning and securing permits, it’s time to prepare your site for installation.
Site preparation is where the physical work begins, and the decisions made here shape the long-term stability and safety of your home. The core tasks include clearing vegetation, leveling the ground, compacting the soil, and installing proper drainage to prevent water pooling under or around your home.
Foundation type is one of the most important choices you’ll make. Sloped or poor sites need piers, engineering, or special foundations to remain stable over time. Here’s a comparison of the most common foundation options:
| Foundation type | Best for | Approximate cost |
|---|---|---|
| Gravel pad | Flat, stable lots | $3,000 to $10,000 |
| Concrete piers/blocks | Sloped or uneven terrain | $4,000 to $12,000 |
| Poured concrete slab | Permanent placement | $5,000 to $15,000 |
| Trailer/wheels | Mobile or temporary use | Varies by home |
For complex sites, additional engineering may be required. Frost zones need deeper footings. Flood-prone areas may require elevated foundations. Seismic zones in the western U.S. call for specific anchoring systems.
Skipping a proper foundation to save money upfront is one of the most common and costly mistakes in tiny house installation. A compromised foundation leads to structural issues, moisture problems, and failed inspections.
Here is a step-by-step site prep sequence to follow:
- Clear the site of trees, shrubs, and debris.
- Grade and level the ground to the required slope for drainage.
- Compact the soil to meet load-bearing requirements.
- Install gravel base or form work for your chosen foundation type.
- Set piers, pour slab, or prepare pad as specified by your engineer or contractor.
- Confirm drainage channels are in place before delivery day.
For more detail on how trailer foundation safety affects your home’s long-term durability, or if you’re still weighing your options, comparing a THOW vs. permanent foundation can help clarify which path fits your lifestyle.
Tiny house delivery and placement: logistics made simple
Once your site is ready, the next big moment is delivery. Here’s how to ensure a smooth landing.
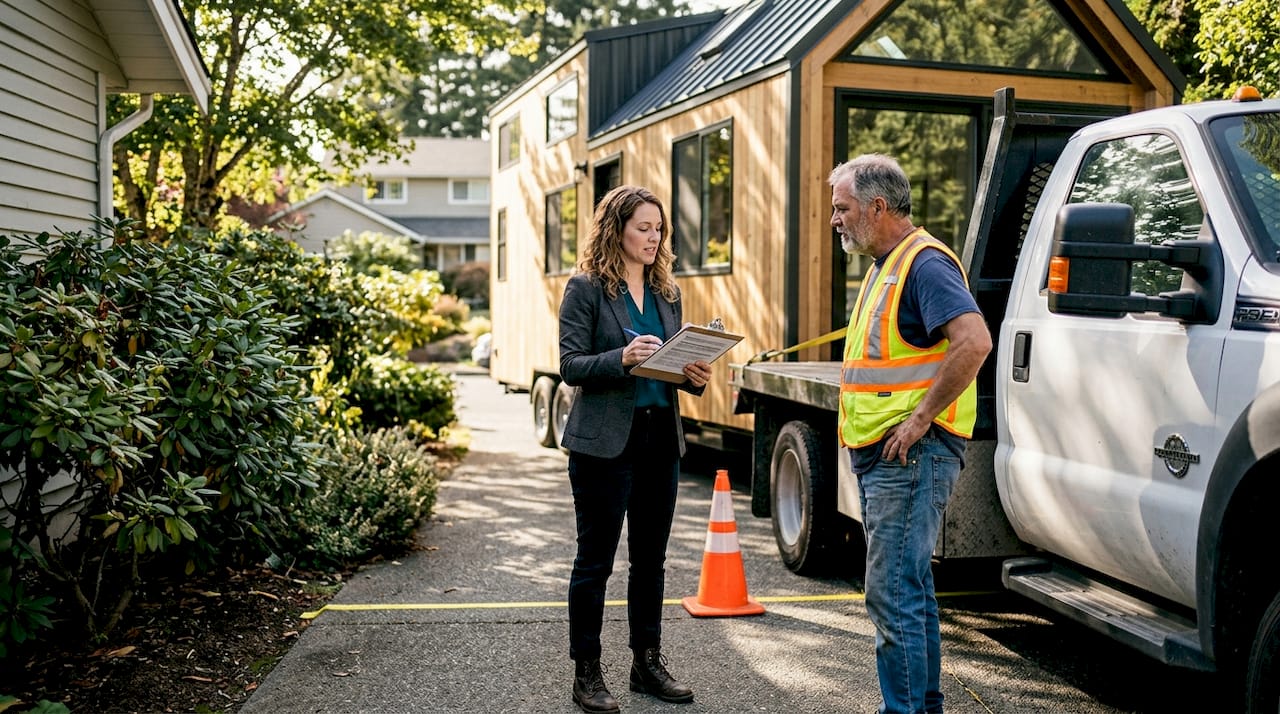
Delivery day is exciting, but it requires careful coordination. Your tiny home will arrive on a flatbed or specialized transport vehicle, and placement depends on the foundation type and site access. Narrow driveways, low-hanging trees, and soft ground can all create complications if not addressed in advance.
Crane or delivery equipment costs typically run between $1,500 and $6,000, depending on your location, the size of the home, and whether a crane is needed for placement. Homes being set onto piers or slabs often require crane assistance, while homes on wheels may be driven or towed into position.
Here’s what to have ready on delivery day:
- Site fully cleared: No vehicles, equipment, or debris blocking the access route.
- Foundation complete and inspected: The pad, piers, or slab must be cured and approved.
- Access route confirmed: Measure the width and overhead clearance of the entry path.
- Utility stubs in place: Water, electric, and sewer rough-ins should be ready for connection.
- A designated point of contact on site: Someone who knows the plan and can make decisions.
For a detailed walkthrough of what to expect, the tiny house delivery process page covers the full sequence from dispatch to placement. If your installation involves a lift, reviewing the crane system overview can help you prepare for that specific step.
Pro Tip: Before the delivery crew arrives, mark the exact placement position on your foundation with chalk or tape. It speeds up placement and reduces the chance of repositioning, which adds time and cost.
Delays on delivery day are expensive. If the site isn’t ready or access is blocked, you may face rebooking fees or additional equipment charges. Good preparation here pays off directly.
Final connections: utilities, inspections, and move-in
With your home placed, the final phase is connecting to vital services and passing final checks.
Utility connections are the last major step before you can move in. The sequence matters. Connecting in the wrong order can cause delays with inspections or create safety issues. Here’s the recommended order:
- Water connection: Connect to municipal supply or well. Install shutoff valves and pressure regulators.
- Sewer or septic: Connect to city sewer or install and connect a septic system.
- Electrical connection: A licensed electrician must connect to the grid or set up your solar/battery system.
- Final walkthrough: Check all connections for leaks, proper function, and code compliance.
- Schedule inspections: Contact your local authority to book required occupancy inspections.
Utilities can add $2,000 to $10,000+ to your total cost depending on location and distance from existing infrastructure. Rural lots typically cost more due to longer runs for water and electric lines.
Here’s a quick cost breakdown by utility type:
| Utility | Typical cost range | Who handles it |
|---|---|---|
| Water hookup | $500 to $3,000 | Licensed plumber |
| Sewer/septic | $1,500 to $8,000 | Contractor or installer |
| Electrical connection | $1,000 to $5,000 | Licensed electrician |
For more detail on each step, the utility installation steps resource breaks down responsibilities by trade.
Pro Tip: Schedule your inspections before utility work is fully closed up. Inspectors often need to see connections before walls or covers are installed. Booking early also prevents week-long delays waiting for an available inspector slot.
Common pitfalls at this stage include missing paperwork for the septic system, leaving electrical panels without final covers, and forgetting to apply for the certificate of occupancy. These small oversights can push your move-in date back by weeks.
A smarter approach to tiny house installation: what most guides miss
Installation may seem straightforward, but real-world experience teaches that a few overlooked steps change everything. Most setbacks aren’t caused by bad luck. They’re caused by skipping the upfront work that feels slow and unnecessary when you’re excited to build.
The biggest myth we see is that permits and soil tests are optional, or that they can be sorted out later. They can’t. THOW suits nomadic or temporary use, while foundations are the right call for long-term, permanent housing. Choosing the wrong approach for your situation creates legal and structural problems that are far more expensive to fix than prevent.
Moving fast to save money almost always backfires. A rushed site prep or a skipped engineering review might save $500 today and cost $8,000 in corrections six months from now. We’ve seen it happen.
The buyers who have the smoothest installations are the ones who spend more time on planning than on rushing. They talk to their building department early. They get the soil test done before falling in love with a lot. They compare mobile vs. permanent tiny homes before committing to a foundation type. That upfront clarity makes every step after it faster and cheaper.
Ready to make your tiny house dream a reality?
If you’re ready to get started or want expert help navigating your tiny house journey, here’s how Ecolife Homes can help.
At Ecolife Homes, we’ve spent over 21 years in civil engineering and home construction so you don’t have to figure this out alone. We handle everything from permitting to final installation, making the process transparent and stress-free.
Whether you’re just starting to research or ready to move forward, you can explore tiny homes to browse our customizable park model models, read about affordable park model homes to understand your options, or review our financing options to see what fits your budget. We’re here to guide you every step of the way.
Frequently asked questions
How long does a typical tiny house installation take?
Most tiny house installations take 2 to 6 weeks from start to move-in, though permitting and site complications are the most common reasons for delays. Having permits approved and the site ready before delivery day shortens the timeline significantly.
Can I install a tiny house myself, or do I need professionals?
You can handle some tasks yourself, but local codes often dictate which phases require licensed professionals, particularly for foundation work, utility connections, and inspections. Attempting licensed work without credentials can void permits and create liability issues.
What are the most common unexpected costs?
The biggest surprises are usually soil engineering fees, drainage corrections, upgraded foundation pads, and last-minute permit requirements. Site prep, permits, and utility connections can add $7,000 to $25,000 to your total project cost.
How do I know if my land is suitable for a tiny house?
A soil test, a local zoning and code check, and a basic site evaluation for flood risk and slopes are the three essentials before committing to a lot. Soil quality and local codes determine what foundation types are even possible on a given site.
Recommended
- Park Model Tiny House – Buying Process – Ecolife Homes – Park Model Home Manufacturer – Florida – USA
- Step-by-step tiny house build guide for Florida 2026
- How to Buy a Tiny House – Ecolife Homes – Park Model Home Manufacturer – Florida – USA
- How to Buy a Tiny Home in Florida: Step-by-Step Guide – Ecolife Homes – Park Model Home Manufacturer – Florida – USA